3. General
3.1. Page dimensions
This menu contains settings that apply to all pages of a document.
The default measurement unit is “millimeters”.
There are two other units of measure to choose from for some parameters:
pt: relevant unit for documents to be printed;
em: unit relative to the font size. It is relevant for documents that will be viewed on screens of different sizes (laptops, external screens, tablets, smartphones).
3.1.1. Page presentation
The studio generates pages with a particular construction.
The page is made up of 3 distinct zones:
header,
margin,
the footer
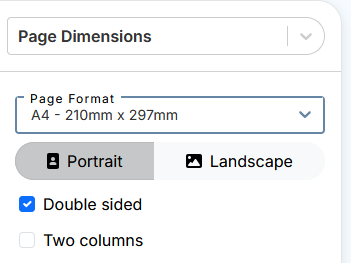
3.1.2. Choice of page dimensions
Page dimensions are defined in the "Page dimensions" tab of the PDF studio.

The studio offers predefined formats. Most are Ax, plus Letter format.
Choose the most suitable format from the drop-down list.

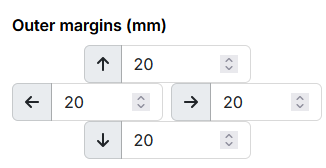
3.1.3. Edit page margins
The page margins are important, as they're where the headers, footers and body are positioned.
Horizontal, "inner" and "outer" margins are named in relation to the fold of a book.
The inner margin is the one stuck to the fold of the book.
The outer margin is the one opposite the book's fold.
For a document that is not double-sided, the inner margin is always on the left of the page, the outer margin always on the right.
For a "double-sided" document, the inner margin is to the left of the page for an odd-numbered page and to the right of the page for an even-numbered page. Conversely, the outer margin is to the right of the page for an odd page and to the left of the page for an even page.
Larger inner margins can be advantageous for high-volume square-back printing. This means the text is not on the fold.
"Internal" and "external" margins define the horizontal origins and terminations of page zones, and therefore also their widths.
Page body, header and footer widths are not entered directly. These zones occupy the space left by the margins.
Vertical dimensions are described below.
3.1.4. Page body margins
Page body margins will define the origin and end of the page body area vertically. So also its height.
![[Important]](cco-important.svg) | |
The page body is positioned in relation to the page margins. Not in relation to the page itself. |
| |
In the design phase, the top margin of the body should be greater than the height of the header. Otherwise, the header will overlap the page body. Also, the lower body margin must be greater than the height of the footer. Otherwise, the page body will overlap the footer. |

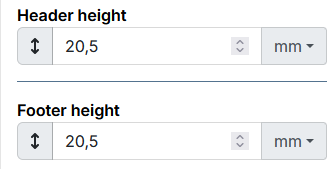
3.1.5. Height of header and footer
| |
The header and footer are positioned in relation to the page margins. Not in relation to the page itself. |
Header and footer heights are entered directly in Studio PDF.
| |
When designing, the header height should be lower than the upper body margin. Otherwise, the header will overlap the page body. The footer height should also be less than the bottom margin of the body. Otherwise, the page body will overlap the footer. |
The content and other elements of headers and footers can be set in the Header and footer menu.
3.1.6. Visual check of page configuration
A simple way of checking the page size configuration is to activate the measurement tools.
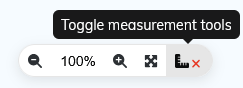
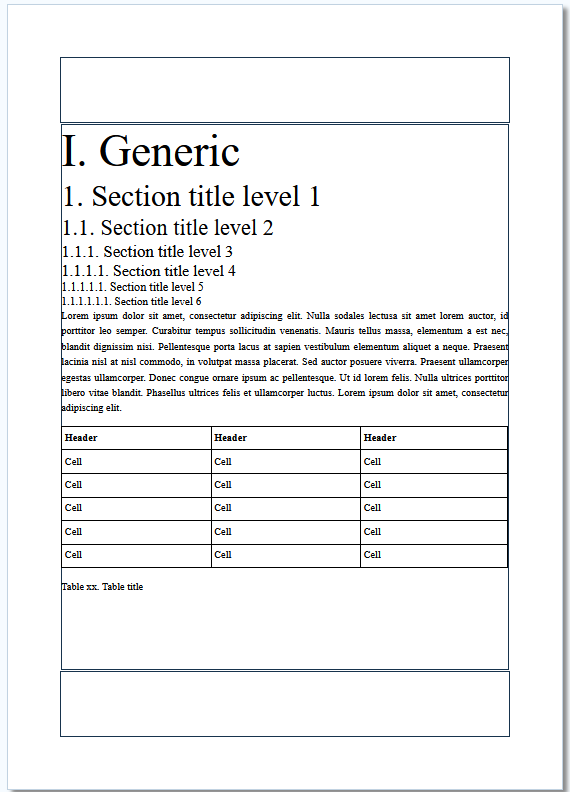
Once the measurement tools display is activated, the page body header and footer areas are framed by a black border.
3.2. Global Styles
This menu is used to set the font and font styles for :
all elements that use the default body text font.
This setting is made in the section, “Body text style”.
all titles, for elements that have one.
This setting is made in the “Title style”.
Font customization for each element is available in the respective menus.
The Hyphenate and Show links reference features apply to body text content.
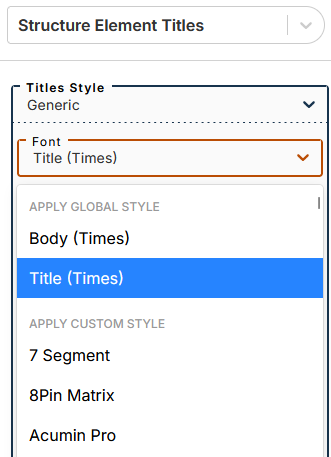
3.3. Structure element titles
Font selection
The submenu lets you apply one of two global styles (defined in the menu Global Styles): body or title (applied by default).
You can apply a custom style by selecting a font from this part of the drop-down menu.
Other settings
Settings made in the menu affect all structural elements present in the document.
The menu of each element allows you to set specific values for some styles while preserving the default values for others.
By setting the particular values, the arrow to the right of each parameter becomes active.
Click the arrow to return to the default.
The Hyphenate feature allows you to hyphenate a particularly long word at the end of a title line.
The Display label feature allows you to hide the label (displayed by default) for the following elements: Part, Chapter, Appendix.
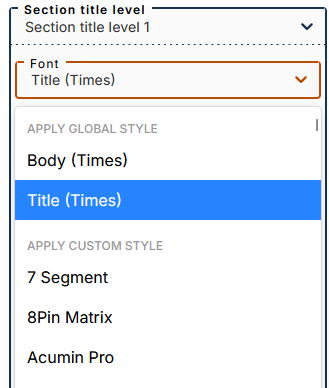
3.4. Section titles
This menu is dedicated to setting the titles of 6 section levels.
Font selection
The submenu lets you apply one of two global styles (defined in the menu Global Styles): body or title (applied by default).
You can apply a custom style by selecting a font from this part of the drop-down menu.
The Hyphenate feature allows you to hyphenate a particularly long word at the end of a title line.
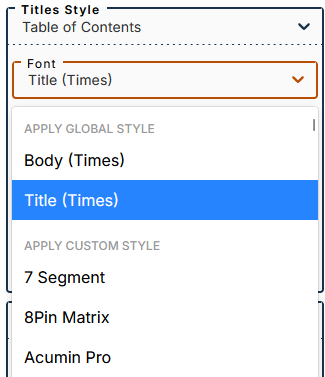
3.5. Table of contents
This menu is dedicated to setting the table of contents:
specific to the whole document;
specific to each structure element that is part of a document;
for figures and tables (for documents in “book” structure).
Click on  next to the item for which you want to display the table of contents preview.
Click on  next to the items you want to enable/disable the table of contents for in your publication.
The “Maximum Level” parameter defines the granularity of the table of contents.
The “Section levels that generate a table of contents” setting defines the granularity of the table of contents specific to document sections.
![[Note]](cco-note.svg) | |
The result of this setting is visible directly in the publication. |
The menu allows you to set styles for the titles of :
table of contents ;
list of figures ;
list of tables.
Choice of font for titles
The submenu lets you apply one of two global styles (defined in the menu Global Styles): body or title (applied by default).
You can apply a custom style by selecting a font from this part of the drop-down menu.
The menu allows you to format each type of element defined for the table of contents.
Choice of font for entries
The submenu lets you apply one of two global styles (defined in the menu Global Styles): body (applied by default) or title.
You can apply a custom style by selecting a font from this part of the drop-down menu.

Use the menu (to the right of the preview area) to hide elements that are missing from the structure of your document in the preview.
3.6. Header and footer
This menu is dedicated to the configuration of headers and footers for all the pages of the document, including the title page.
Editing modes
There are two editing modes:
 page header editing ;
 footer editing.
 This tab allows you to preview headers and footers along with the page content.
| |
If the editing area is not visible, check the height of the header and/or footer set in the menu Height of header and footer. |
Header and footer separators
Separators are fillets whose purpose is to distinguish body content from header and footer content more immediately.
They are activated with checkboxes.
The header separator is placed at the bottom border of the header area.
The footer divider is placed on the top border of the footer area.
Header and footer on blank pages
This feature is used in connection with the configuration of the document in two-sided copy mode, available in the menu Page dimensions.
It allows you to show or hide the content of headers and/or footers on blank pages.
Composition of header and footer
Headers and footers are created by dragging and dropping widgets.
The zone can accommodate widgets outside a grid, widgets grouped together in a grid, or a combination of both, as shown below:
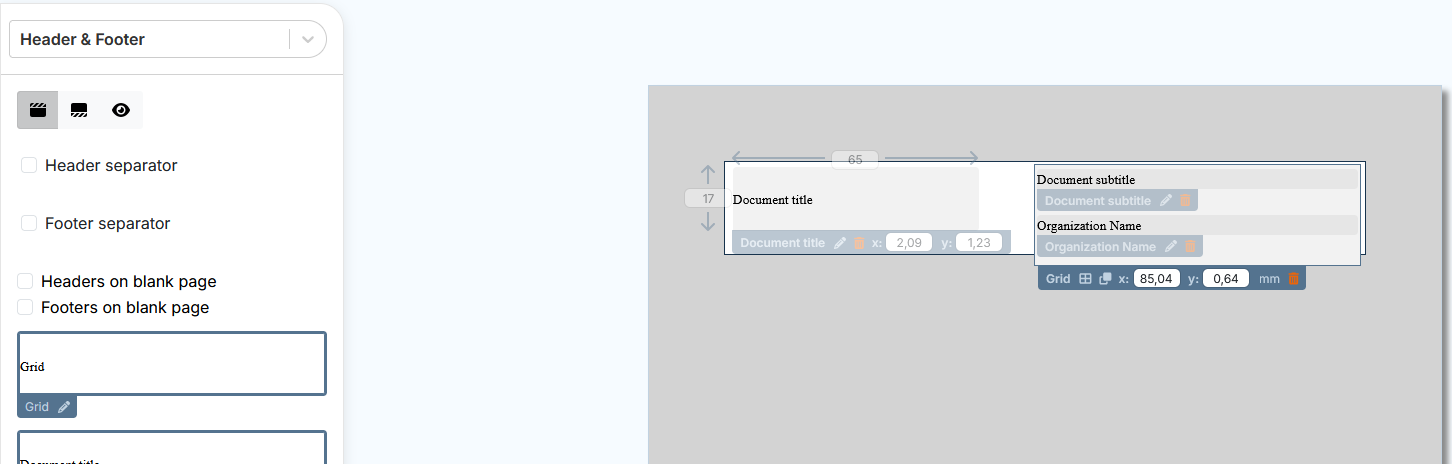
Settings for widgets outside the grid include :
modification of height and width ;
positioning with XY coordinates.
Widgets grouped in a grid follow the grid settings.
Section Widgets describes widget types and how to edit them.
Header and footer on odd and even pages
It is possible to set the header and footer differently for the odd and even pages of a document.
In the menu , enable Recto verso mode:
In the menu , enable Different Headers or Footers on Odd or Even Pages in the respective editing menus:
It is possible to make a combined layout with separate headers and identical footers and vice versa.
Both sides of a page are displayed with a settings area for each side. The verso of the document corresponds to the even pages of the document. The recto corresponds to the odd pages.

The composition of the header and footer is done in the same way as in single-sided mode (header and footer identical to all pages) (see Composition of header and footer).
If the options and are selected for the cover page, and the layout for the recto and verso of the cover page is customized, the headers and footers set for the recto and verso are displayed on the recto and verso of the cover page, respectively.
If the Header/Footer option on blank pages is enabled, the blank pages display the headers and footers set for the recto.