3. Manage a form template
The features described in this section can be accessed with the Customer Account Manager and/or Workspace Administrator role.
3.1. Import a form template into the workspace
This feature can be accessed with the Customer Account Manager role and available without a subscription to Calenco Forms.
A form template is already present among the sample documents in a workspace:
automatically created when you first register with Calenco;
created in addition to existing spaces with the default content (see Add a new workspace).
If a workspace does not contain any form templates, or if you need more than one template, it is possible to import a form template that is provided by default.
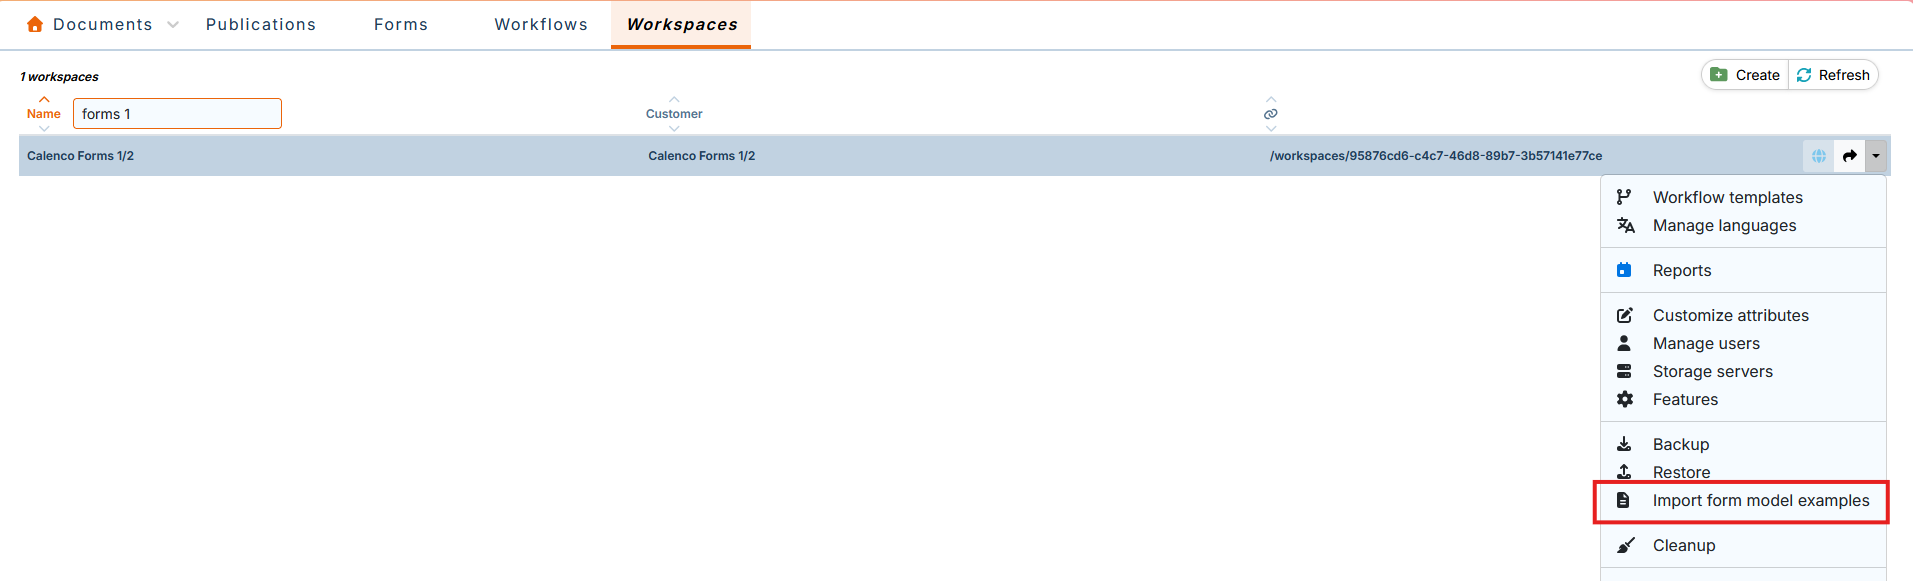
In the → , click → :
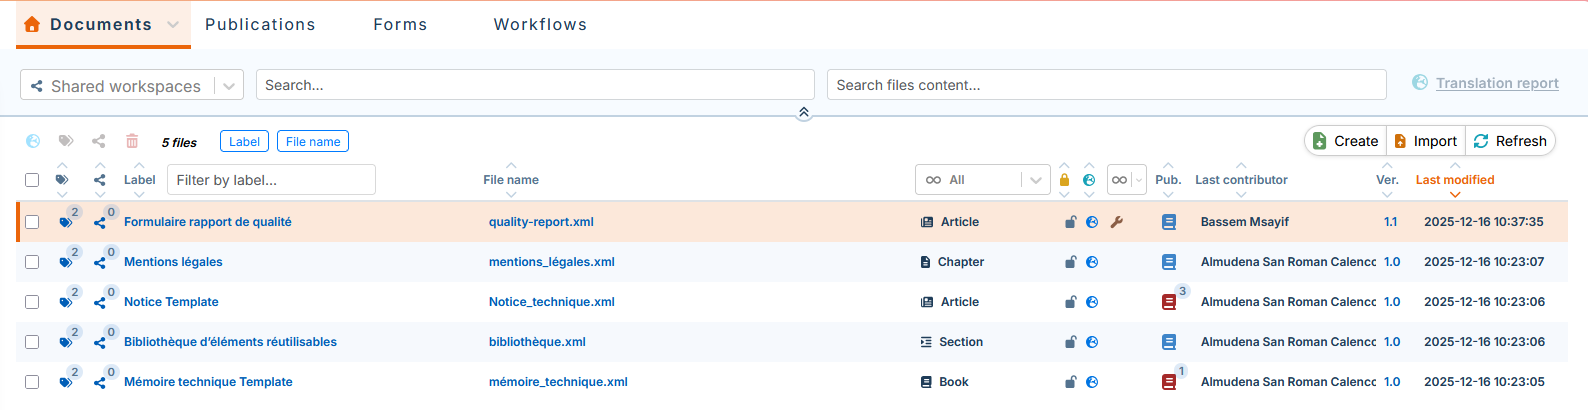
The template's xml file is automatically injected into the tab in the Calenco interface:

![[Note]](cco-note.svg)
The default template is injected into the French language menu (the default source language). If your source language is other than English, please contact your usual NeoDoc contact.
This template could be used to create:
base templates (see Create a new form template);
a custom template (see Edit a form template).
3.2. Create a new form template
The features described in this section can be accessed with the Customer Account Manager and Workspace Administrator role.
3.2.1. Set as Template
It is possible to define the form template as the base template in order to customize it if necessary (see Edit a form template). This base template can be used to create form templates based on this template (see Create a form template based on a base template).
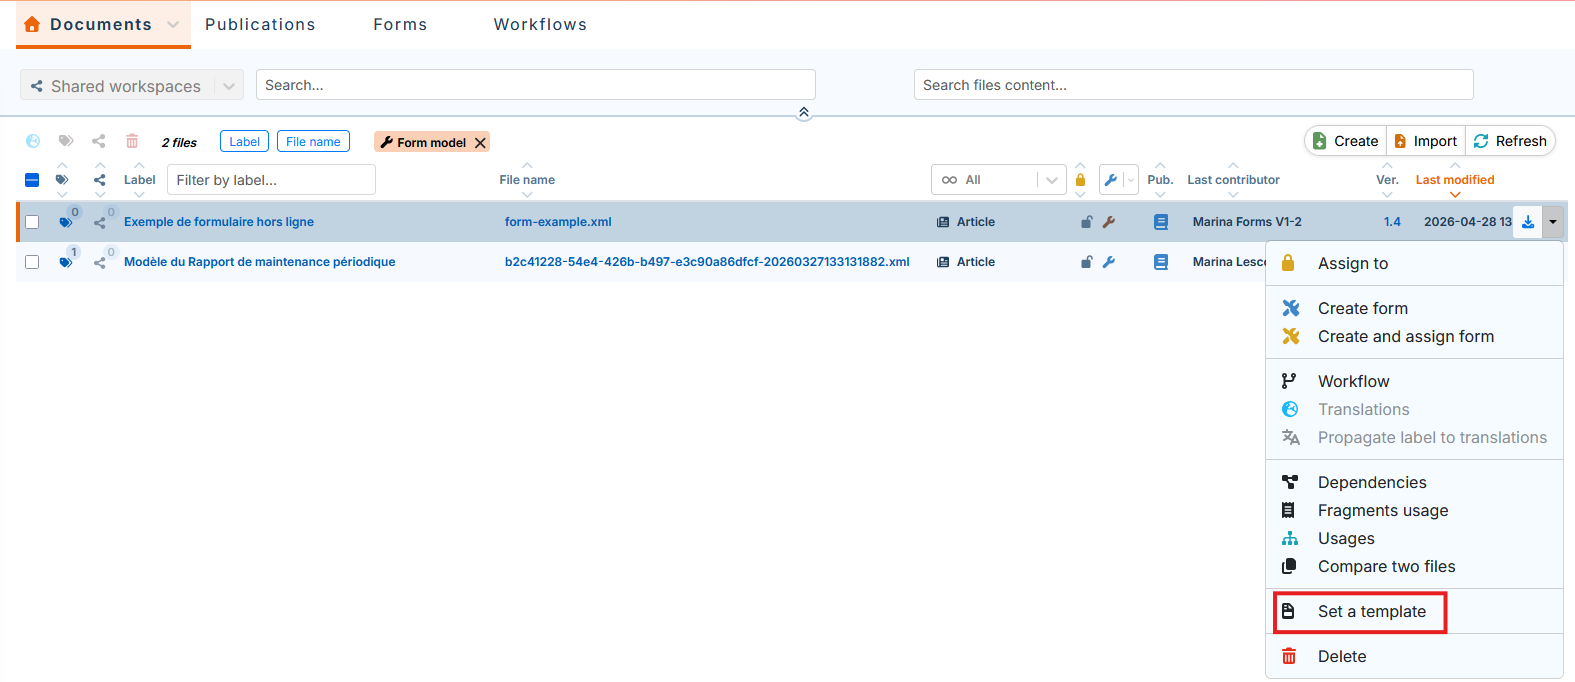
In the tab, for the desired form template, click :
![[Important]](cco-important.svg)
The created template is no longer linked to the original document.
The created base template is stored in the menu :
![[Tip]](cco-tip.svg)
It is recommended to customize the label of the base templates for quick search and identification.

3.2.2. Create a form template based on a base template
In the tab, click
 Create.
Select , select the desired base template from the drop-down menu, customize the name, and associate one or more tag(s):
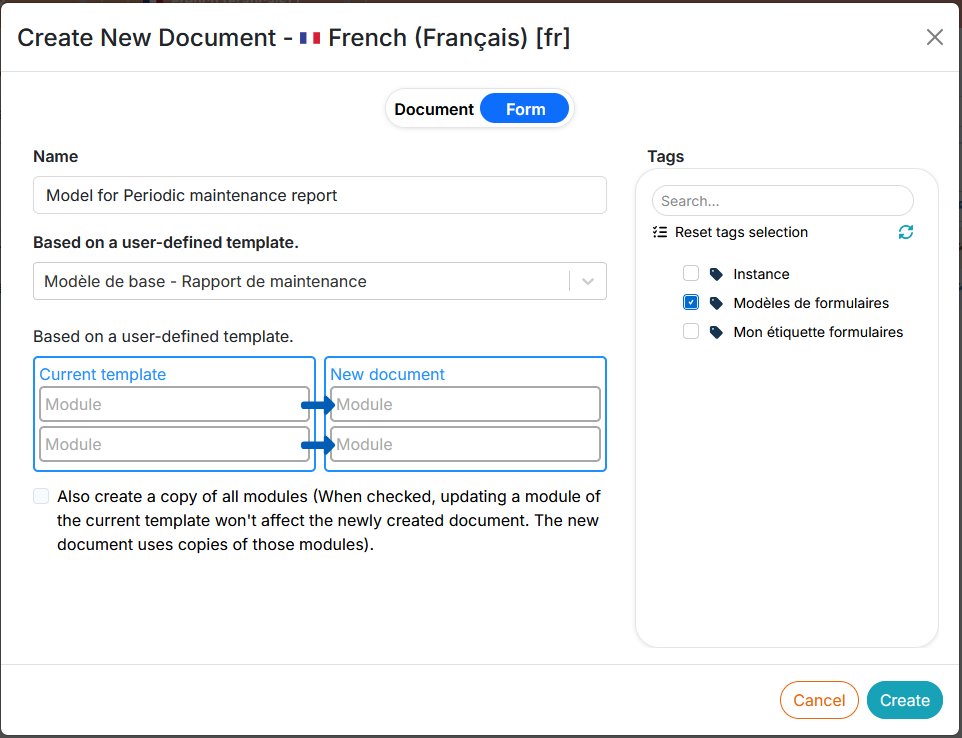
It is recommended that you always associate a tag with form templates when they are created. It will be used to associate an operator with this template, together with the tag of the respective form (see Create a new user account).
Click on : the content editor opens the created content in a new tab.
![[Caution]](cco-caution.svg)
Popup Some browsers (Mozilla Firefox) block pop-up windows: this can prevent the web editor from opening.
Make sure to add the url of the web editor to the list of allowed sites in your browser settings.
The new form template appears at the top of the document list in the tab.
3.3. Activate a form template
The form template is stored in the Calenco interface.
In order to be able to create forms in the Calenco Forms application, the template must be:
enabled if it's a new model
 ;
;reactivated if it's an updated template (or its dependencies or stylesheet)
 .
.
Procedure 50. To (re)enable the form template:
| |
To reactivate an updated template, close the document in the editor after saving the changes. |
Click the symbol for an inactive template.
In the dialog that opens, check the box Active. For the template you want to reactivate, skip to the next step.
If necessary, add style sheet settings.
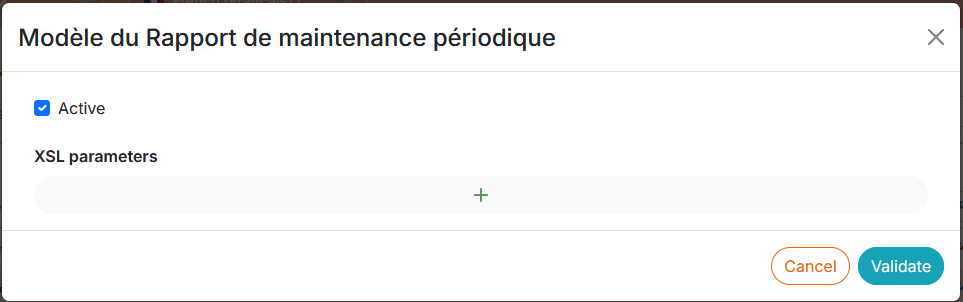
Click .
The active template is displayed with
 in the Calenco interface. It is available in the application for the creation of forms by operators (see Create a form):

3.4. Edit a form template
The features described in this section can be accessed with the Customer Account Manager and Workspace Administrator role.
3.4.1. Input the data
DocBook elements are characterized to associate specific behaviors (via attributes and associated values) with forms.
The WXE editor offers a menu which allows you to create and customize form templates without any special knowledge of the DocBook standard.
The menu is made up of three sub-menus, each with a group of buttons presented in the following sections:

3.4.1.1. Inline
This menu allows you to create inline elements in a form.
|
Button |
Editing |
Operator interface |
|---|---|---|
|
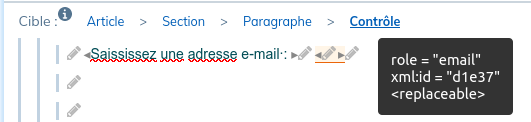
Simple text |
 |
 |
|
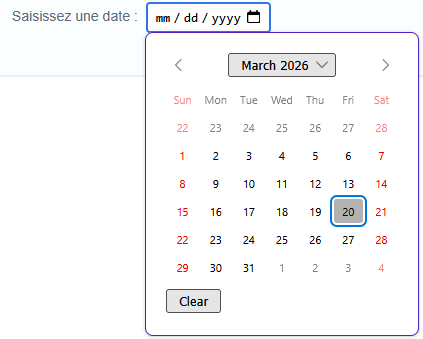
Date |
 |
 |
|
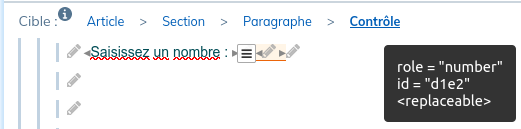
Number |
 |
 |
|
Check box |
 |
 |
|
|
 |
 |
|
Signature |
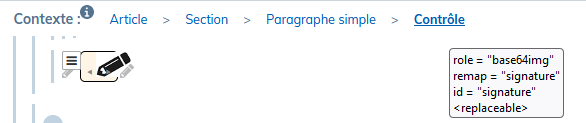 |
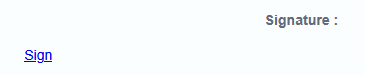 Click on the link to open the dedicated area and sign it. 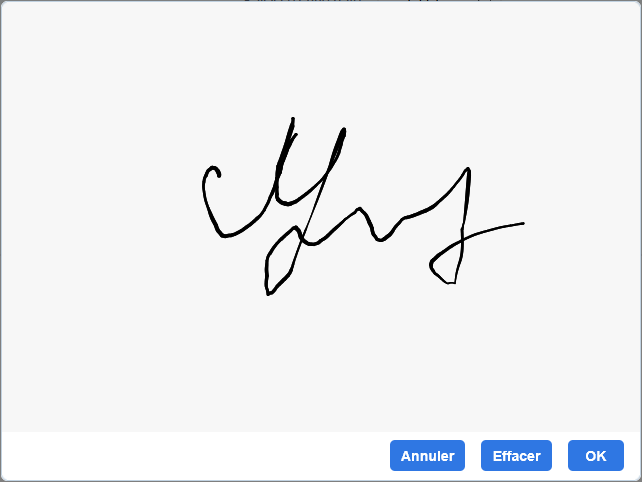 |
3.4.1.2. Contents
Use this menu to create block elements in a form.
|
Button |
Editing |
Operator interface | |
|---|---|---|---|
|
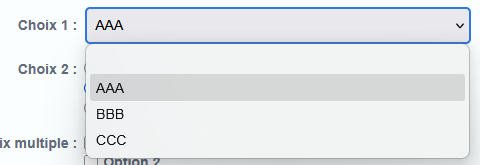
Selection (drop-down list) |
 |
 | |
|
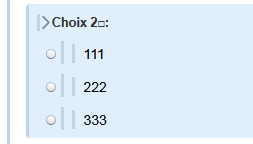
Radio buttons |
 |
 | |
|
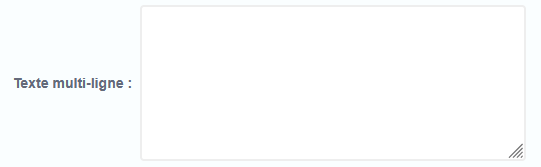
Multi-line text |
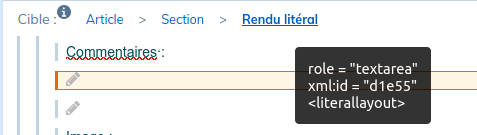 For untitled elements, attach the introductory text to the element with the |
 | |
|
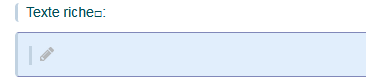
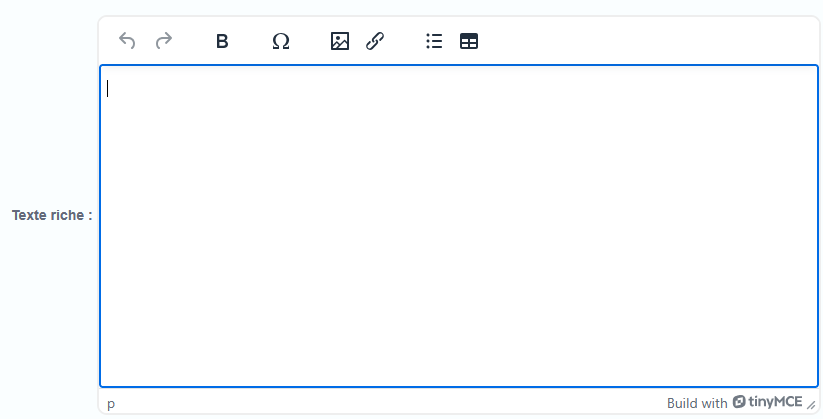
Rich text |
 |
| |
|
Dynamic List |
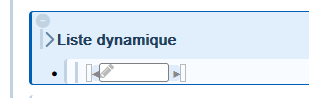 To add a list item, place the cursor in the input field of the existing item, press the Enter key twice on the keyboard. |
 | |
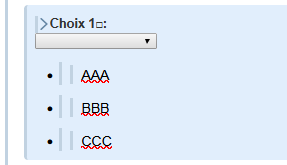
|
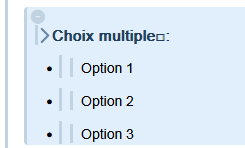
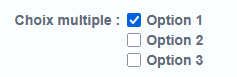
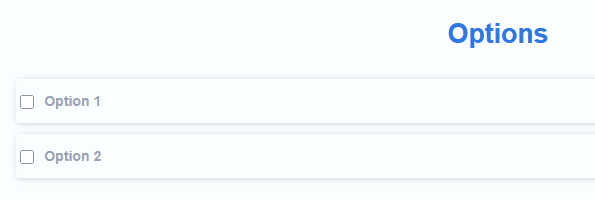
Multi-choice |
 |
 | |
|
Image |
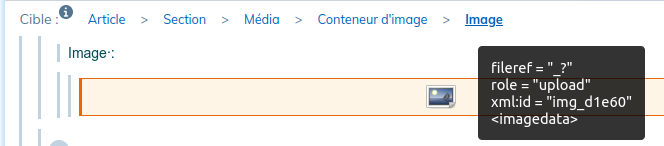 |
 | |
|
Checkbox with label |
 To edit the label content, select the element, place the desired content in the |
 | |
|
Optional section |
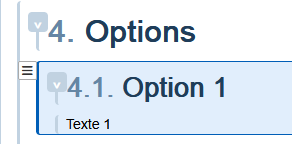 |
 |
3.4.1.3. Variant content
This menu allows you to create structure elements with alternative content in a form.
|
Button |
Editing |
Operator interface | |||
|---|---|---|---|---|---|
|
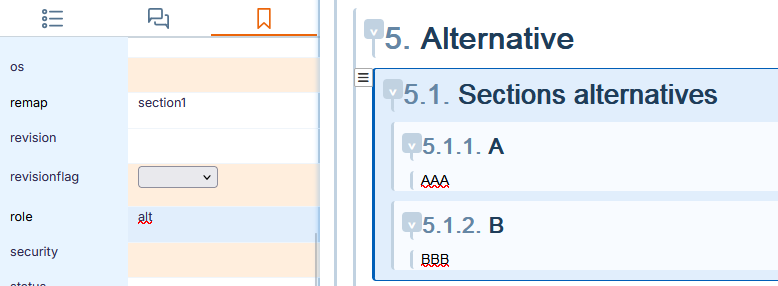
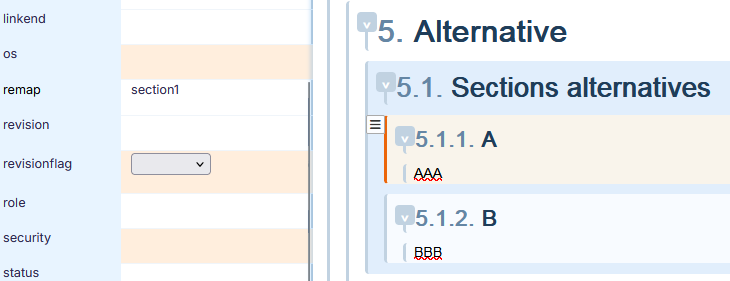
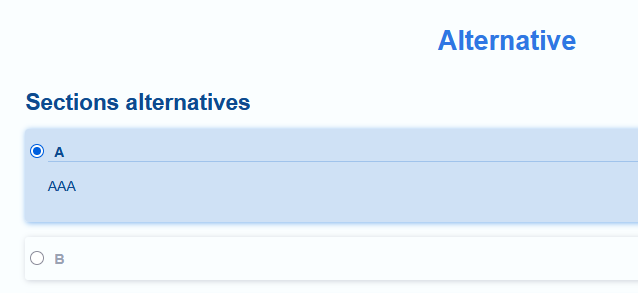
Variant section (alternative) |
The default alternative chosen in the form must have the same value of the
|
| |||
|
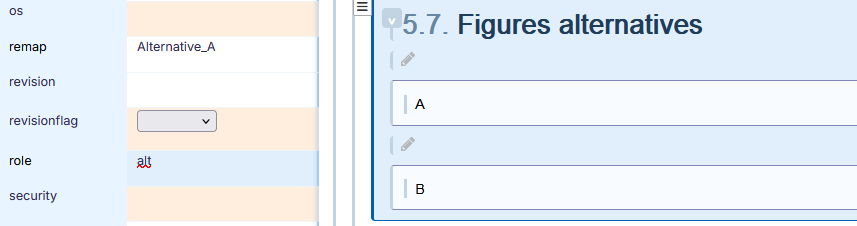
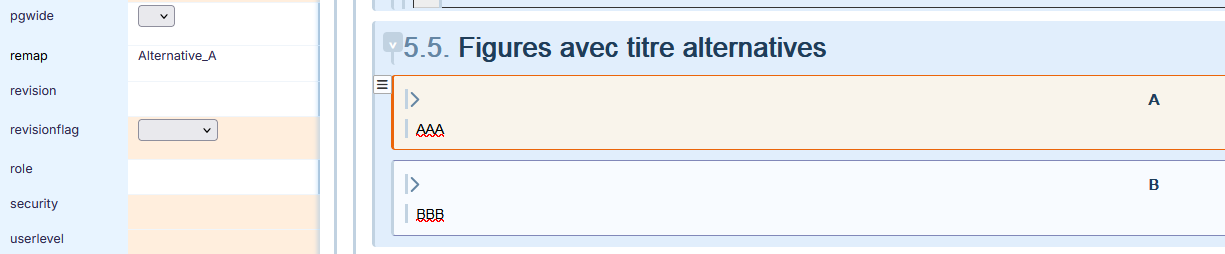
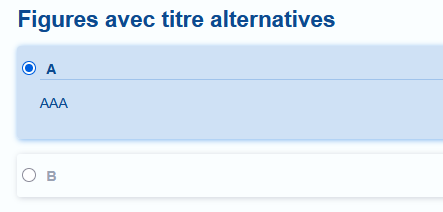
Figure with alternative title |
The default alternative chosen in the form must have the same value of the
|
| |||
|
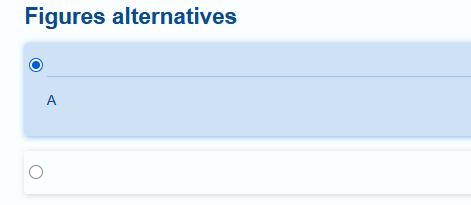
Variant Figure |
 The default alternative chosen in the form must have the same value of the 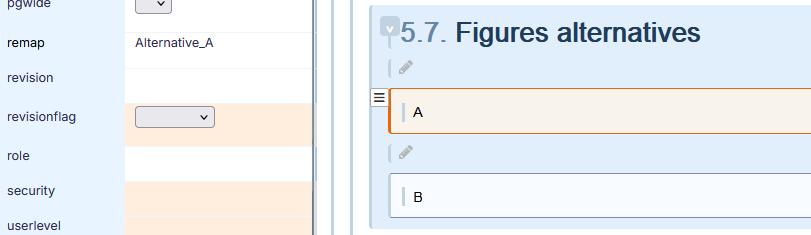 |
|

3.4.1.4. Customize the structure
Below you will find the modus operandi for some customizations of the elements for specific use and rendering in a form.
|
Modification |
Editing |
User interface | ||
|---|---|---|---|---|
|
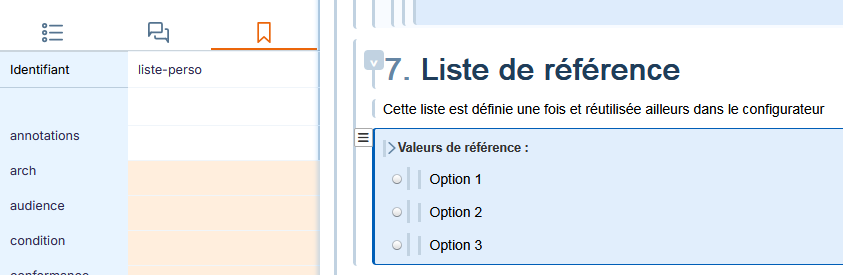
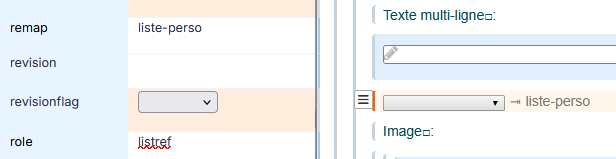
Reference list |
To limit maintenance and reduce documents, it is better to refer to a list rather than duplicate it. Give the list an identifier:
Insert a simple paragraph where you want to duplicate the list. Select it. Value the
|
The rendering is identical to the drop-down list. 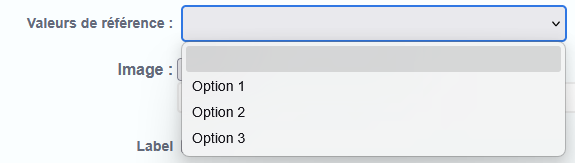 | ||
|
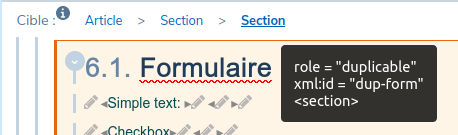
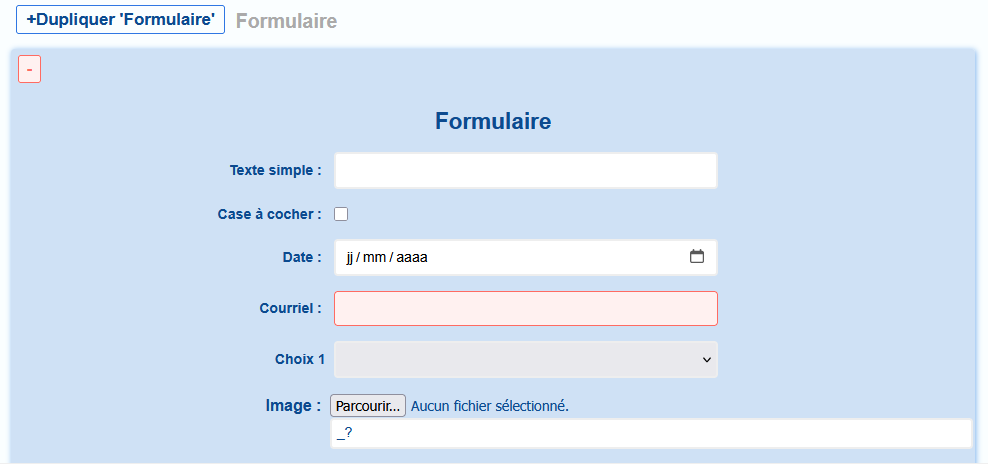
Duplicable elements |
A duplicable element can be duplicated in the same form. Value the This applies to sections:
|
| ||
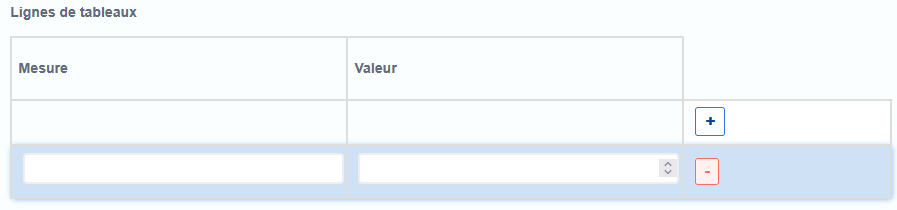
|
to table rows:  |
| |||
|
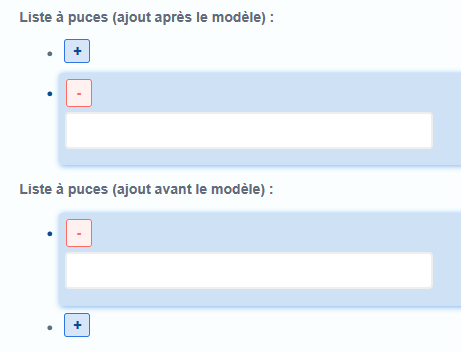
to items of bulleted lists: 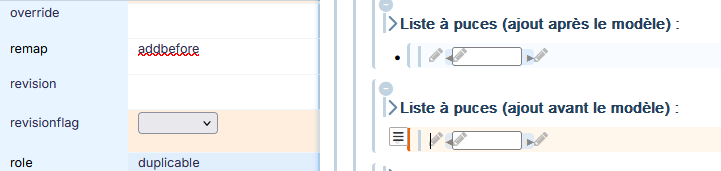 For adding a bullet before the model, value the |
 |
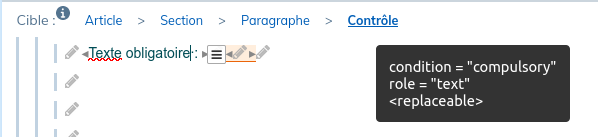
3.4.1.4.1. To make a field compulsory
|
The entry of a value can be made compulsory by giving the value |
The control is bordered in red as long as it is empty When sending information, a message explains that the necessary values are missing |
|---|---|
 |
 |